Want more visibility on Pinterest?
Wondering how to use Pinterest search ads to promote your products and services?
In this article, you’ll discover how to use Pinterest search ads to reach your ideal customer and get instant, low-cost leads and sales for your business.
Pinterest users can actively search the platform for specific ideas, products, and services, or passively discover ideas by browsing their home feed.
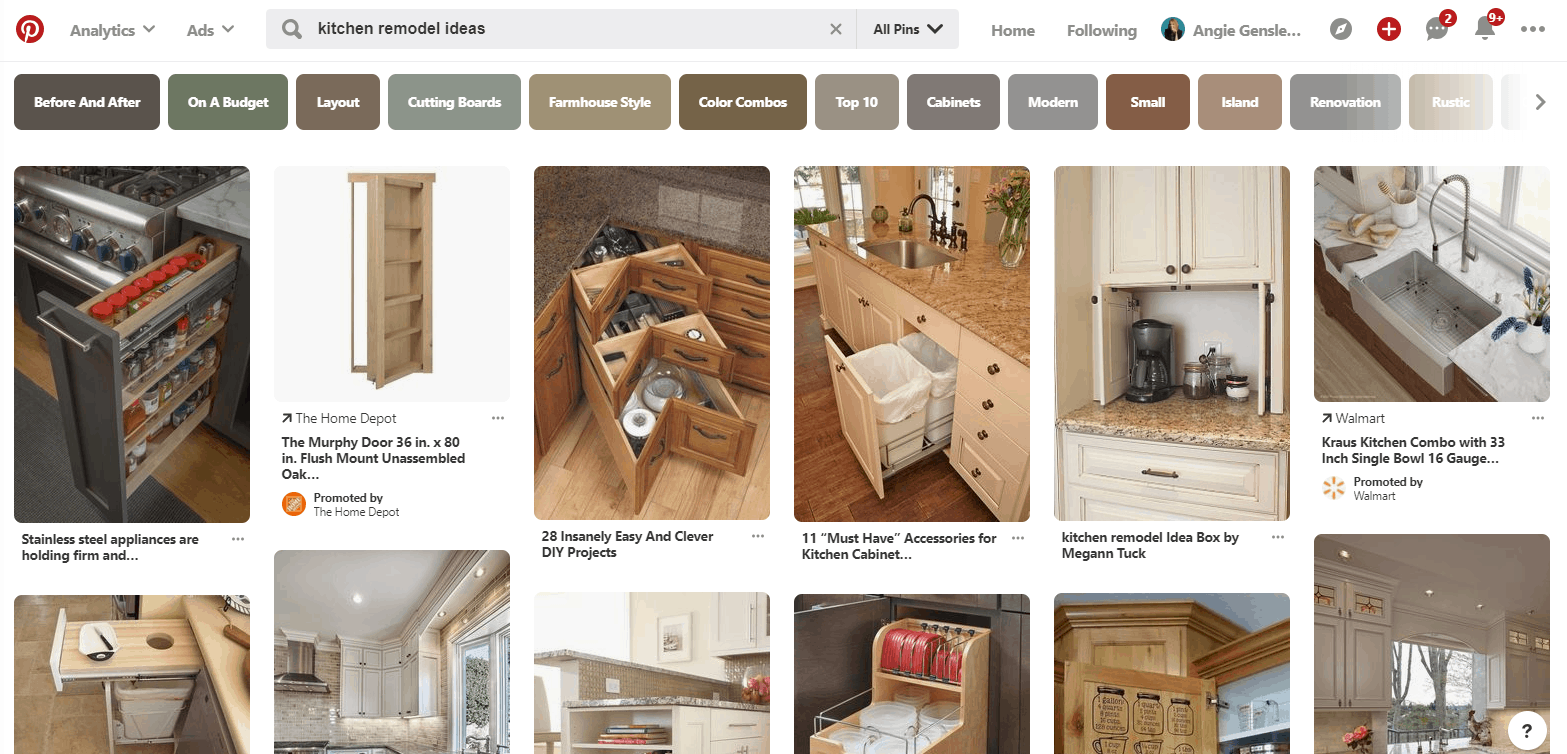
Pinterest search ads are shown after a user types a search query into the search bar.
For instance, if you’re planning to remodel your kitchen, you may type “kitchen remodel ideas” into the search bar.
Pinterest will display a mixture of organic and paid pins (images) that use “kitchen remodel ideas” as a keyword.
Unlike Google search ads, Pinterest search ads aren’t shown in just the first few results.
Instead, they’re peppered throughout the feed, intermingled throughout regular organic pins.
The only difference between a promoted pin and a regular pin is the “Promoted by” text at the bottom of the Pin.
Pinterest search ads not only help you reach your ideal customer but also offer early influence over the buying decision process.
According to a Pinterest search study, 97% of search terms on Pinterest are unbranded.
This means Pinterest search users are in the consideration phase and they’re open to new ideas and brands.
What’s more, the buyer intent on Pinterest is extremely high.
According to a 2017 Pinterest category usage study, 93% of pinners use Pinterest to plan purchases, and one out of two people have made a purchase after seeing a promoted pin.
Unlike other platforms, where ads are designed to interrupt a user’s news feed, Pinterest users are actively seeking out products and services on the platform.
Pinterest search ads are easy to create and relatively inexpensive to run.
The platform is fairly intuitive so search marketing experience isn’t necessary.
This alone makes Pinterest search ads ideal for busy marketers and small business owners.
Before You Create Your First Pinterest Ad
Before you create your first campaign, there are a few things you need to know.
First, you must have a business account to advertise on Pinterest.
If you don’t have a business account, you can click here to create one or you can convert your personal account into a business account.
Second, ads are available only to accounts located in the United States, Canada, United Kingdom, Ireland, Australia, and New Zealand.
Unfortunately, if you live outside of one of these countries or you want to target an audience outside of these countries, you won’t be able to run ads on Pinterest.
Third, you can only run ads for pins from your profile.
This means you first need to add the pin(s) you want to promote to one of the boards on your account.
Step #1: Choose the Objective for Your Pinterest Search Ads
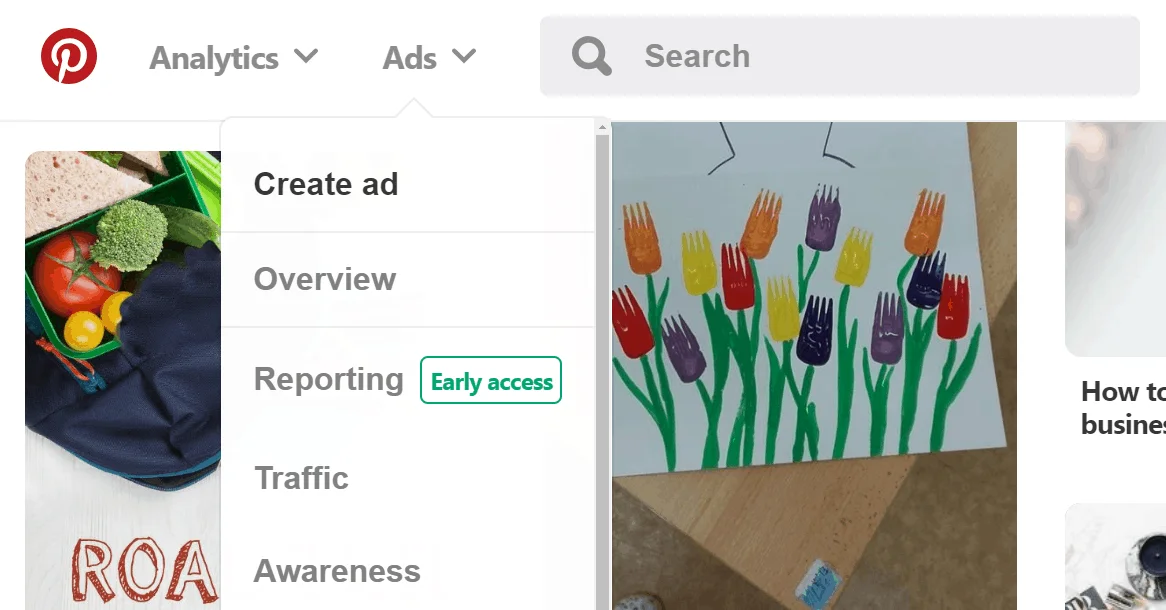
To create a Pinterest search ad, click Ads at the top left of your home screen and then select Create Ad.
The next screen is where you set up your campaign.
If you’re familiar with Facebook ads, Pinterest ads have a similar structure consisting of three levels: campaign, ad group, and pin.
The first step at the campaign level is to select the objective (the ultimate goal) for your ad campaign.

Pinterest currently offers four campaign objective types: Brand Awareness, Video Views, Traffic, and App Install. (Click here to learn more about each campaign type and best practices for building your campaigns.)
For this example, you want to select Traffic.
Once you’ve selected your objective, enter your campaign name and set your daily and lifetime budget for the campaign.
Setting ad spend limits at the campaign level is optional as you can set limits on each ad group you create within the campaign.

Once you’ve entered a name and spend limits, select continue.
Step #2: Select the Targeting Details for Your Pinterest Search Ads
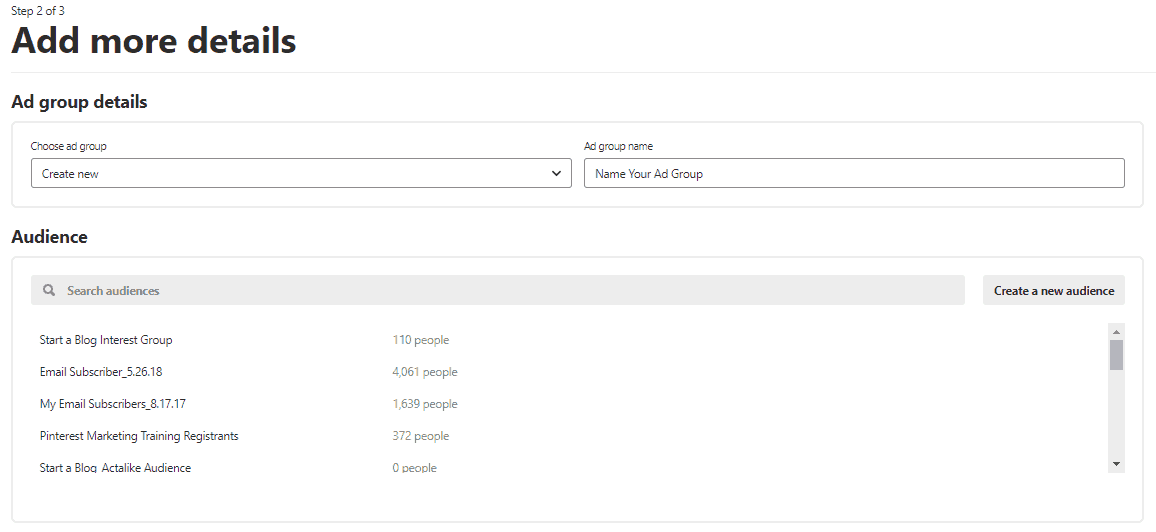
The next screen opens the ad group level where you select whom you want to target with your ad campaign.
You can have multiple ad groups in a campaign, but you can set up only one ad group at a time.
To set up your first ad group start by naming the ad group.
Next, you can select your audience, but since you’re running a search ad targeting cold traffic searching very specific keywords you can skip this section.
Next, you’re ready to narrow down your targeting.
Select the genders, geographic locations, languages, and devices you want to target.
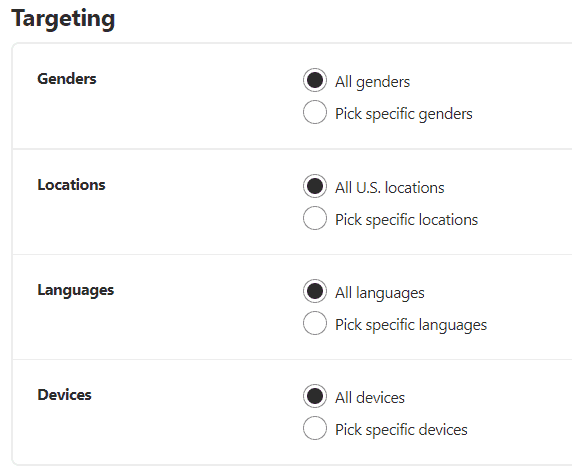
Once you’ve narrowed down your demographic targeting, you’ll want to select the Search option for placement.
This refers to how your ads are shown: either in the home feed as users browse Pinterest or in search results when users search specific words.
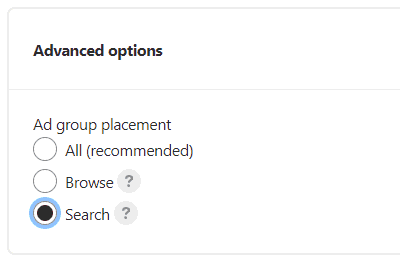
Then scroll down to the Keywords section where you’ll enter the keywords you want your ads to show for in the search results.
You can type your keywords directly into the left panel or search for related keywords using the Extend Your Reach panel on the right.
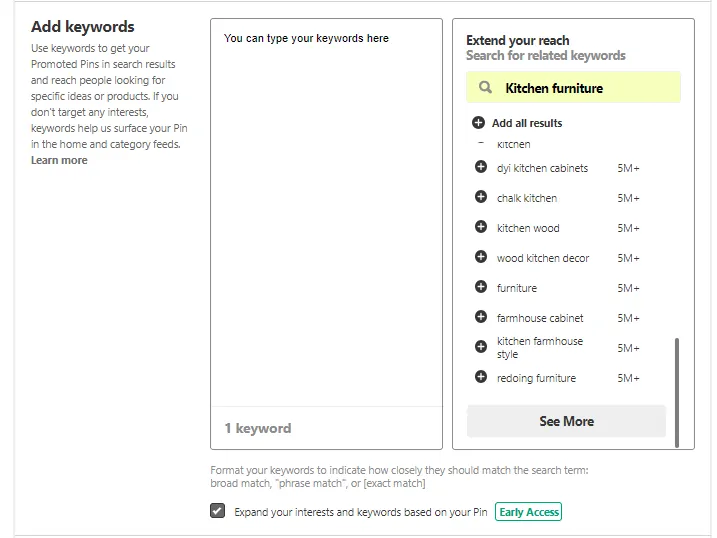
If you want more control over what searches your ads appear in, you can add special identifiers to your keywords:
- Broad match: keyword
- Phrase match: “keyword”
- Exact match: [keyword]
- Negative match: -keyword
These identifiers are helpful if you know certain searches won’t produce your ideal customer.
To illustrate, if you build custom wood kitchen tables, you don’t want your ads to appear for searches that include DIY (do it yourself) in them.
In this instance, you would add “-diy” to your list of keywords to exclude anyone looking for do-it-yourself solutions.
Step #3: Set the Budget and Maximum CPC for Your Pinterest Search Ads
The last thing you need to do within the ad group level is set your dates, budgets and a maximum CPC (cost per click) bid.
First, select a start and end date for your ad group.
If your product is not seasonal, I recommend leaving the end date blank and be sure to monitor your ad performance daily.
You can turn off poor performing ad groups at any time.
Next, set your daily or lifetime budget.
I recommend setting a daily budget so your ad dollars are not all spent in the first few days before the algorithm has a chance to optimize your ad.
Then, you’re ready to enter your bid.
This is the maximum amount you’re willing to pay for a click on your ad.
Pinterest will automatically generate a suggested bid based on the targeting parameters you selected and be prepared for it to be much higher than you’re likely willing to pay.
You can change the bid amount to as low as 10 cents a click.
Pinterest will give you a scary red “Too low” message but just ignore that.

Do not enter an amount more than you’re willing to pay simply because that message pressured you into it.
I’ve created a number of search ad campaigns that performed extremely well at 10 cents a click.
Once your ad is live you can always increase the bid amount if it’s not being delivered.
To maximize the ROI of your ad spend, it’s important to know your conversion rates for every phase of your sales funnel.
This data will allow you to calculate a maximum CPC bid that will provide a positive ROI.
Step #4: Choose the Pin to Promote With Your Pinterest Search Ads
Once you’ve entered your maximum CPC bid, click the red “Continue” button at the bottom right of the screen.
This will open up the third and final level of your campaign where you select the specific pin (ad creative) you want to promote.
You can promote multiple pins in each ad group which is a great way to split test your creative.
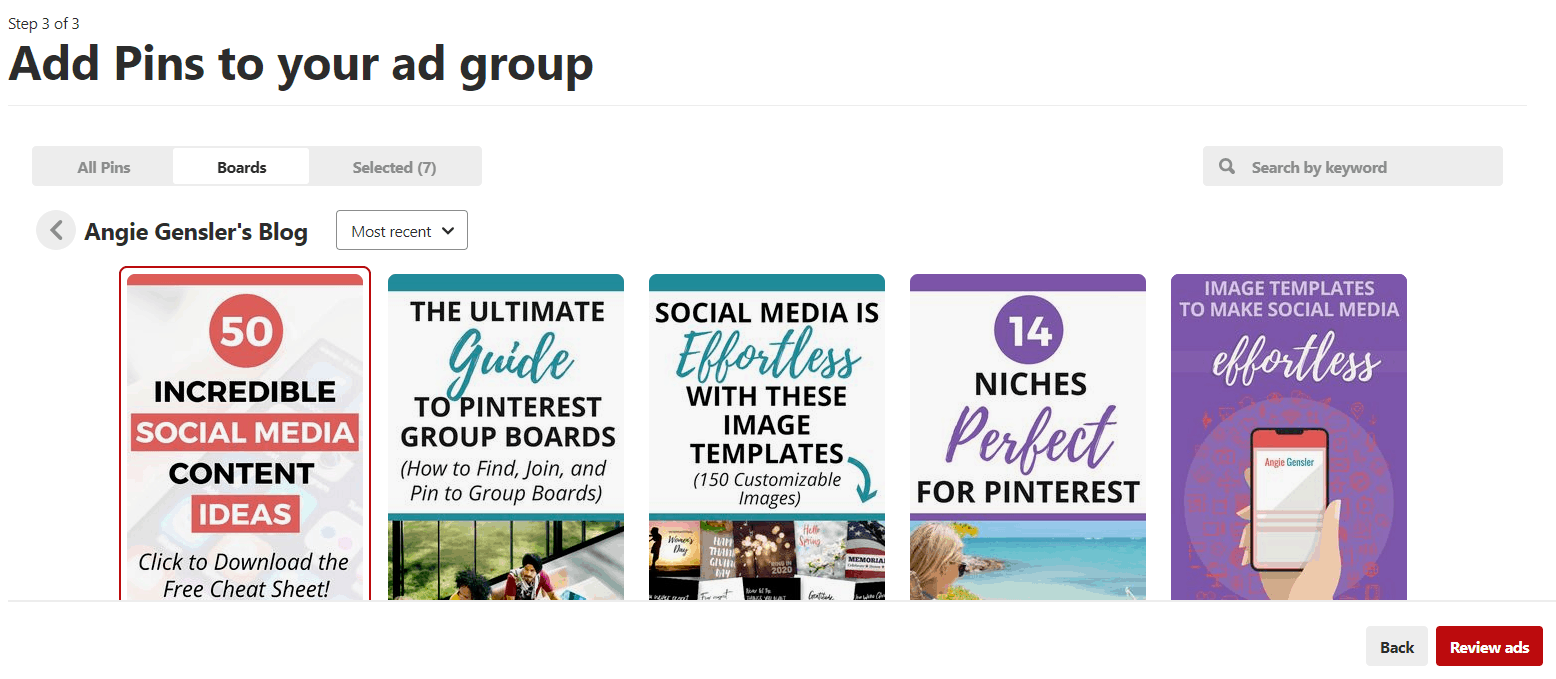
To find the pin you want to promote, Pinterest allows you to search through your Pins in the following ways:
- All Pins: Display all of your pins and from there you can sort by most recent Pins or your existing ads.
- Boards: You can select a Pin from a very specific board.
- Search by Keyword or URL: Enter the exact URL or keywords from the pin you want to promote.
I recommend sorting by your boards and selecting a pin from one of your own boards.
Once you’ve selected the Pins you want to promote, click the red “Review Ads” button.
The final step is to name the Pins and add a destination URL.
Naming your Pins is optional, but if you plan to promote multiple pins per ad group, it’s helpful to give each pin a unique name.
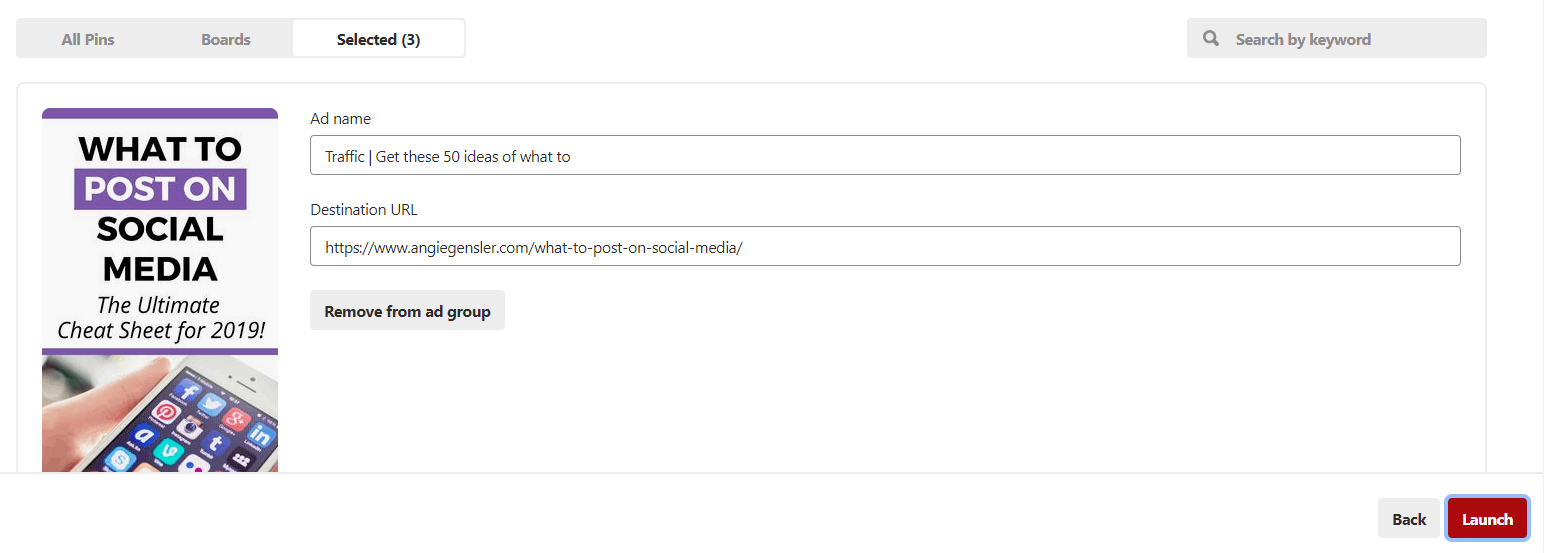
Pinterest will automatically populate the destination URL, but you can change it if you want to add a UTM code to track the campaign in Google Analytics.
Once the pin name and URL are set, click the red “Launch” button in the bottom-right corner.
Your ad will be sent for review and must be approved by Pinterest before it goes live.
This process typically takes less than 24 hours.
Step #5: Monitor Your Pinterest Search Ad Campaign Results
Once your ad is approved, you can track the performance metrics for your ad and make edits as needed within your Ads Manager.
From your home page, click Ads in the top left and select Traffic.
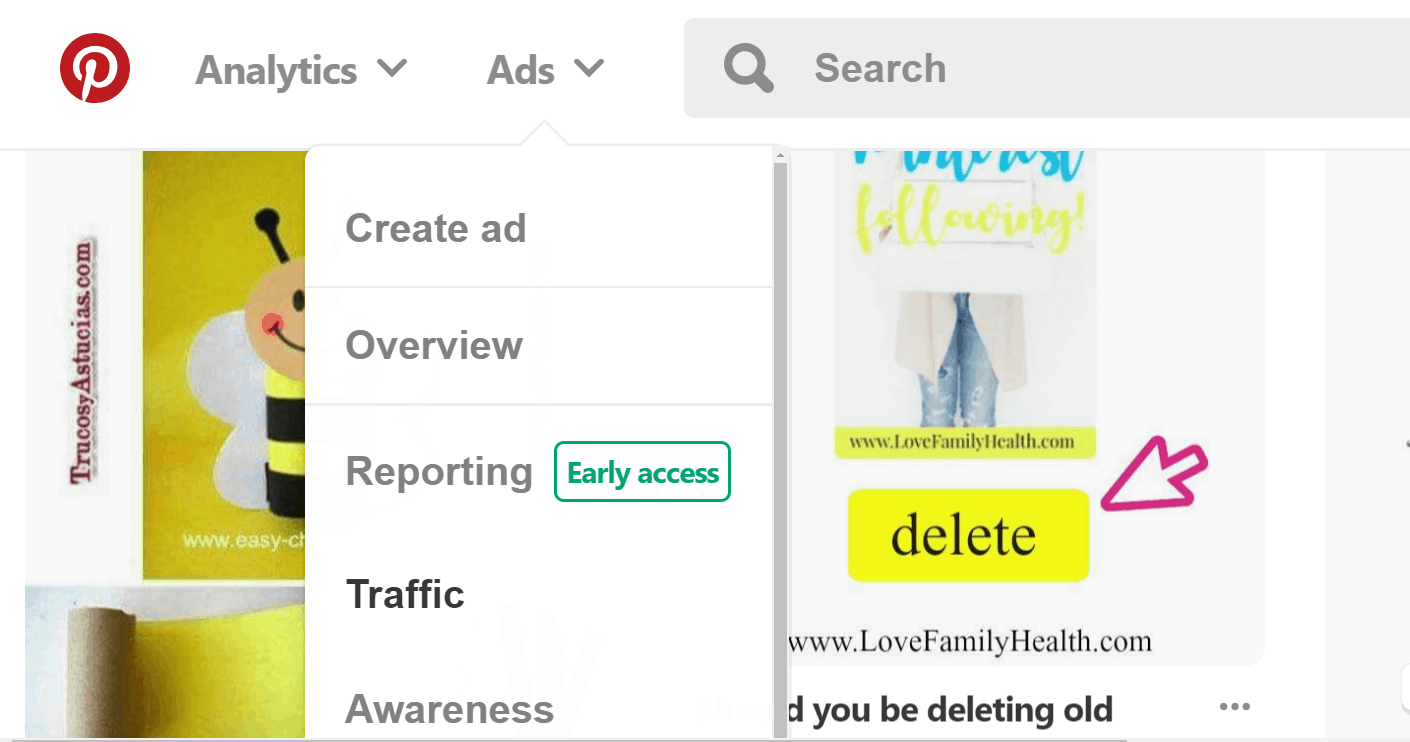
This opens the Ads Manager for your traffic campaigns.
Here you can track your campaign metrics and make edits to the campaign.

Tip: Pinterest provides a lot of data on the performance of your pins, but if you want more in-depth data related to conversions that occur on your website, you need to install the Pinterest conversion tag on your website.
Conclusion
If your business is looking for new ways to reach your ideal customer, Pinterest search ads are a great solution.
They’re simple to create, affordable to run, and you reach an audience actively searching for ideas and products to buy.
Did you find this article helpful?
Are you considering using Pinterest search ads for your business?
Let me know in the comments below!
KEEP READING:
This article was originally published on Social Media Examiner: How to Use Pinterest Search Ads


